Veo 3 Character Consistency: How to Keep the Same Character Across Clips (2026)
Stop your Veo 3 character from morphing between clips. A complete system for character consistency: a copy-paste character bible template, reference images, Scene Builder and Frames-to-Video chaining, and prompt structure that stops drift.
Emma Chen · 13 min read · Jun 25, 2026
If you have ever generated a great 8-second Veo 3 clip and then watched your main character turn into a completely different person in the next shot — new face, different jacket, the wrong hair — you already know the single biggest pain point in AI filmmaking. "How do I keep the same character consistent across Veo 3 clips?" is the question that separates a one-off viral clip from an actual repeatable channel, ad campaign, or short film.
The good news: Veo 3 is far more controllable than it looks. Character drift is not random — it is the predictable result of under-specified prompts and skipping the model's built-in identity tools. This guide gives you a complete, repeatable system for character consistency in Veo 3: a copy-paste character bible template, the reference-image workflow (up to three images), the Scene Builder and Frames-to-Video chaining that carries identity forward, and the exact prompt structure that stops your hero from morphing. You can open Veo 3 in another tab and follow along as you read.
Why Veo 3 characters drift between clips
To fix drift you first have to understand why it happens. Veo 3 generates every frame, plus native audio, in a single coherent pass for one clip — typically 4 or 8 seconds. Within that single clip, identity is rock solid because the model never "forgets" what it drew a half-second ago. The problem starts the moment you ask for a second clip, because each new generation begins from scratch. Unless you give the model an anchor, it re-rolls a brand-new interpretation of "a young woman in a denim jacket," and that interpretation will never match the last one.
There are three root causes of drift, and each has a direct fix:
- Vague descriptions. "A man in a suit" can be rendered ten thousand different ways. The model fills the gaps with random plausible details — and the randomness changes every generation.
- No visual anchor. Text alone cannot pin a specific face. Without a reference image or a continuity frame from the previous shot, the model has nothing concrete to match.
- Shifting prompt order. Veo 3 weights the earliest elements of a prompt most heavily. If you lead with the scene in one prompt and the character in the next, you literally re-prioritize what the model locks first.
Fix those three and consistency stops being luck. The rest of this guide is the system that does exactly that.
Method 1: Build a character bible (the description lock)
Your first and most important tool costs nothing and works in every Veo 3 access path — Flow, the Gemini app, or the API. It is a character bible: one fixed, hyper-detailed block of text describing your character that you paste, unchanged, into every single prompt where that character appears.
The mistake most people make is describing characters at the wrong altitude. "A blue shirt" gives the model freedom to drift. Instead, specify fit, material, condition, and signature details so there is almost nothing left to randomize. Here is a copy-paste template — fill every bracket and never change the wording between shots:
CHARACTER — [NAME]:
A [age]-year-old [ethnicity/skin tone] [man/woman] with [exact hair: length, color,
texture, parting], [face shape], [eye color], [distinguishing features: freckles, scar,
glasses style]. Wearing a [garment: exact color name, material, fit, condition, e.g.
"faded indigo denim trucker jacket, slightly oversized, collar up"] over a [layer],
with [accessories: exact watch, ring, earrings]. Build: [height/build]. Default
expression: [neutral/warm/serious]. Voice: [pitch, accent, pace].
Two rules make the bible work. First, paste it verbatim every time — even a reordered adjective can nudge the render. Second, put the character block first in your prompt, before the scene and action, because Veo 3 anchors the earliest tokens hardest. Lead with who, then describe where and what they do. For more on prompt ordering and weighting, see our Veo 3 prompt engineering guide.
A simple way to keep your bible disciplined across a whole project is to store it as structured data. If you are generating at scale, a JSON prompt structure lets you lock subject, wardrobe, and voice as fixed fields and only vary the action and camera keys per shot — the cleanest way to guarantee the identity block never accidentally changes.
Method 2: Lock the face with reference images
Text gets you 80% of the way; a reference image closes the gap to a specific, repeatable face. Veo 3's image-conditioning workflow supports up to three reference images of a single person, character, or product, and the model uses them to preserve appearance across generations. This is the single most reliable way to keep a real, recognizable identity.
How to use reference images well:
- Use a clean, well-lit, front-facing portrait as your primary reference. Avoid heavy shadows, sunglasses, or extreme angles — the model can only preserve what it can clearly see.
- Add up to two supporting angles (three-quarter and profile) when you need the character to turn or move through space. Three consistent images beat one image used three ways.
- Keep the reference and the description in agreement. If your bible says "short blonde bob" but your reference shows long brown hair, you create a conflict the model resolves unpredictably. Make them match.
- For products or mascots, the same three-image rule applies — feed clean shots of the object and describe it in the bible.
If you want a full walkthrough of feeding stills into Veo 3 — including turning a single photo into a moving shot — pair this with our Veo 3 image reference workflow and the image-to-video guide. Reference images plus a tight bible is the combination professional creators rely on.
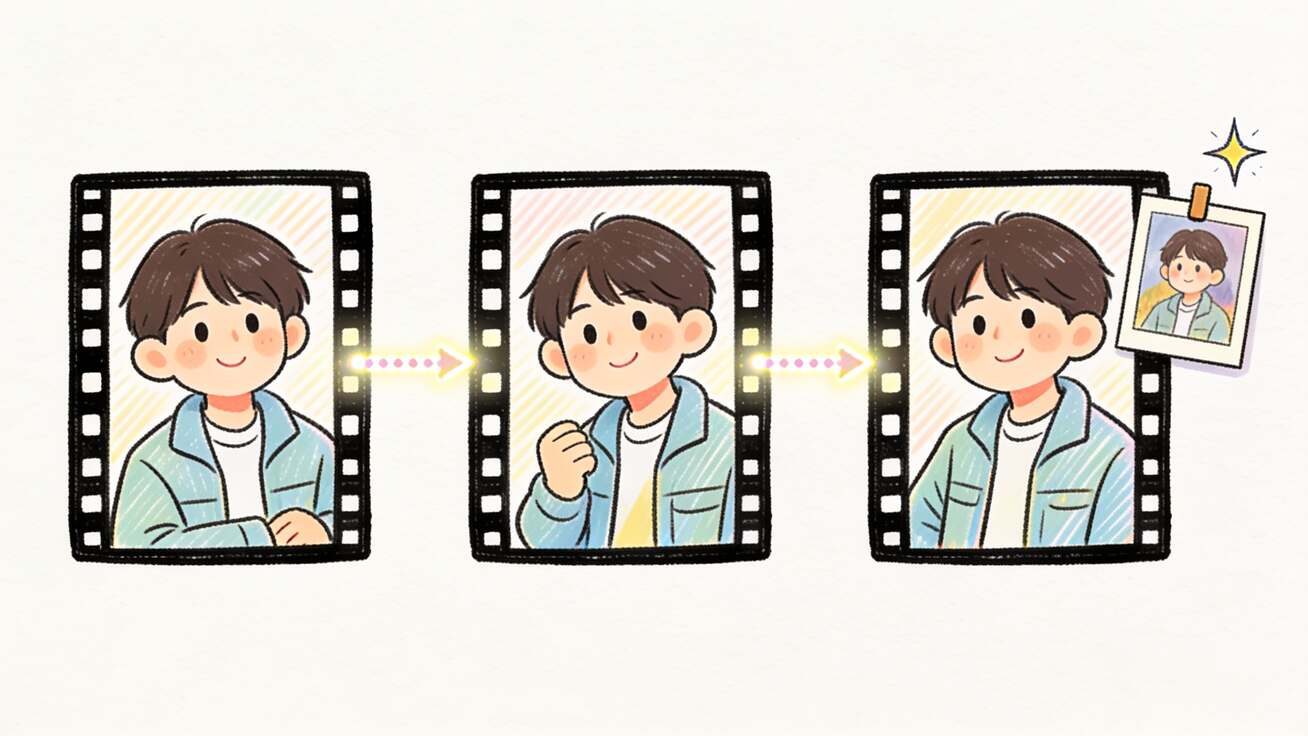
Method 3: Chain shots so identity carries forward
The methods above keep a character consistent when you generate clips independently. But the strongest consistency comes from chaining, where each new clip literally inherits the visual state of the previous one. Veo 3 and the Flow interface give you three chaining tools.
Scene Builder Extend / Add to Scene. Inside Flow's Scene Builder, the Extend and Add to Scene features continue from your existing clip, using the final frames as visual context for the next generation. Because the model can "see" exactly what the character looked like a moment ago, drift drops dramatically. This is the go-to method for continuous action — a character walking, talking, or moving through one space. Full click path in our extend beyond 8 seconds guide.
Frames-to-Video (first/last frame). For more precise control, use Frames-to-Video: you supply a starting frame (and optionally an ending frame), and Veo 3 generates the motion between them. Export the last clean frame of one clip, feed it as the first frame of the next, and your character's exact appearance — face, wardrobe, lighting — carries over with near-zero drift. This is the most reliable technique for multi-shot sequences where the character must stay locked.
Longform storyboard workflow. When you are assembling many shots into a single narrative, plan the whole sequence before you generate so your bible and continuity frames stay aligned end to end. Our longform storyboard workflow shows how to structure a multi-scene project so consistency holds across a 60-second or two-minute piece.
A practical rule: use description + reference images for shots that are visually separate (different locations, time jumps), and use chaining for shots that should feel continuous. Most real projects mix both.
Method 4: Keep lens, lighting, and seed stable
Even with identity locked, a character can feel different if the world around them shifts. Two often-missed levers:
- Hold camera and lighting language constant. If shot one says "shot on a 35mm lens, soft window light from the left," keep that exact phrasing in every shot unless you deliberately want a change. A new lens or light direction re-renders skin tone, face shape perception, and mood. See our camera control prompts guide for a stable vocabulary.
- Reuse the seed when your tool exposes it. A fixed seed makes the model's random choices repeatable, so re-running a prompt with small tweaks keeps the same underlying look instead of re-rolling a new person.
- Use negative prompts to fence off drift. Phrases like "do not change wardrobe, do not age the character, no new accessories" actively suppress the variations that cause drift. Our negative prompt guide lists the most effective constraints.
Keeping the voice consistent too
Visual consistency is only half the battle — Veo 3 generates native audio, including dialogue, so a character can also drift vocally. A consistent face with a different voice in every clip breaks immersion instantly.
Lock the voice the same way you lock the face: add a fixed voice descriptor to your character bible ("warm mid-pitch female voice, light British accent, measured pace") and paste it into every prompt. When you write dialogue, keep the speaking style and cadence consistent, and describe the delivery ("calm, reassuring") rather than leaving tone to chance. For the full approach to controlling spoken lines and sound, see our native audio prompt guide.
A complete multi-clip workflow, step by step
Here is how the four methods come together to produce a three-shot scene with one consistent character:
- Write the character bible. Fill the template above with hyper-specific detail. Save it in a text file you will paste from.
- Generate or choose a reference portrait. Use a clean front-facing image of your character. If you are starting from text, generate one strong establishing shot first, then export a frame as your reference.
- Shot 1 — establish. Prompt order: character bible first, then scene, then action, then camera and lighting. Generate, review, and pick the cleanest take.
- Shot 2 — continue. Export the last clean frame of Shot 1. Feed it via Frames-to-Video or Scene Builder Extend as the starting point. Paste the identical bible, change only the action and camera. Generate.
- Shot 3 — new angle. Reuse the same reference image and bible, keep lens and lighting phrasing identical, change only what must change. Add a negative prompt fencing off wardrobe and identity changes.
- Assemble and check. Review all three clips side by side for face, wardrobe, and voice. Re-roll any shot that drifts using the same anchors — never by rewriting the bible.
Follow this loop and a single character will hold across as many clips as you need. The same system scales to ad campaigns, faceless channels, and short films.
A worked example: filled bible and three shot prompts
Theory is easier to apply when you see it filled in. Here is a complete, ready-to-adapt example for a recurring host character on a faceless-style explainer channel. Notice that the character block is identical and comes first in all three prompts — only the action, camera, and setting change.
The bible (paste this verbatim, unchanged, every time):
CHARACTER — MAYA:
A 29-year-old East Asian woman with a sleek shoulder-length black bob, center
parting, dark brown almond eyes, light warm skin, a small beauty mark below her
left eye, and thin gold hoop earrings. Wearing a structured cream wool blazer over
a plain white tee, with a thin gold chain necklace. Slim build, 5'7". Default
expression: calm and approachable. Voice: warm mid-pitch female voice, neutral
American accent, measured and clear pace.
Shot 1 — establish (text-to-video):
CHARACTER — MAYA: [paste full bible]. She stands in a bright minimalist studio with a soft grey backdrop, looking directly at the camera and giving a small welcoming nod. Shot on a 35mm lens, soft window light from the left, shallow depth of field. She says, calmly: "Let's break this down."
Shot 2 — continue (Frames-to-Video, last frame of Shot 1 as start):
CHARACTER — MAYA: [paste full bible]. Same studio, same grey backdrop. She turns slightly to gesture toward an empty space on her right as if presenting a graphic. Shot on a 35mm lens, soft window light from the left, shallow depth of field. Negative: do not change wardrobe, hair, or face; no new accessories.
Shot 3 — new angle (reference image + bible):
CHARACTER — MAYA: [paste full bible]. Medium close-up from a three-quarter angle, same studio and lighting. She smiles warmly and says, in the same voice: "That's how it works." Shot on a 35mm lens, soft window light from the left, shallow depth of field.
Because the bible, lens, and lighting language are byte-for-byte identical and Shot 2 inherits Shot 1's final frame, Maya stays recognizably the same person across all three clips. To swap settings while keeping her locked, change only the scene sentence and leave everything else untouched.
Multiple characters in one scene
Two or more characters multiplies the challenge, because the model can swap their features. The fixes:
- Give each character a separate, clearly labeled bible (CHARACTER A, CHARACTER B) and reference image.
- Describe spatial position ("the woman on the left, the man on the right") so the model assigns the right identity to the right body.
- Keep both bibles verbatim in every shared shot. Dropping one character's details from a prompt is the fastest way to make them morph.
- Generate two-shots sparingly and rely on chaining, since the more characters share a frame, the more anchors the model has to juggle.
Common mistakes that cause drift
- Editing the bible between shots. Even small wording changes re-roll the look. Lock it and paste it.
- Leading with the scene. Putting the location or action before the character demotes identity. Character first, always.
- Conflicting reference and text. Your image and your description must agree.
- Changing the lens or lighting accidentally. A new camera phrase silently re-renders the face.
- Skipping continuity frames. For continuous action, independent generations will always drift more than chained ones.
- Ignoring the voice. A consistent face with an inconsistent voice still breaks the illusion.
Try it free
The fastest way to internalize this system is to run a three-shot test yourself: write one bible, lock one reference image, and chain three clips. You can start generating with Veo 3 right now and apply the workflow above. If you are new to the model, begin with our Veo 3 beginners guide, then layer in image-to-video and extending beyond 8 seconds to build full scenes.
Frequently asked questions
Can Veo 3 keep the exact same face across multiple videos? Yes — the most reliable way is to combine a detailed character bible with up to three reference images of the same person, and to chain shots using Frames-to-Video or Scene Builder so each clip inherits the previous clip's appearance. Text alone gets you close; reference images and chaining lock it.
How many reference images can I use in Veo 3? Veo 3's image-conditioning workflow supports up to three reference images of a single person, character, or product. Use a clean front-facing portrait as the primary and add supporting angles when the character needs to turn or move.
Why does my character change between clips? Each Veo 3 generation starts fresh, so without an anchor the model re-invents under-specified details. The three usual causes are vague descriptions, no visual reference, and changing the prompt order. Lock the bible, add a reference image, and put the character first.
Does prompt order affect character consistency? Yes. Veo 3 weights the earliest elements of a prompt most heavily, so leading with the character block before the scene and action anchors identity more strongly than burying it at the end.
How do I keep a character's voice consistent? Add a fixed voice descriptor (pitch, accent, pace) to your character bible and paste it into every prompt, and describe the delivery of each line rather than leaving tone to chance. Veo 3 generates native audio, so the voice drifts just like the face if you do not lock it.
Can I keep two characters consistent in the same scene? Yes, but give each character its own labeled bible and reference image, describe their spatial positions so the model assigns features correctly, and keep both descriptions verbatim in every shared shot. Lean on chaining rather than re-generating two-shots from scratch.
Related Articles
Continue with more blog posts in the same locale.

Veo 3 B-Roll Generator: How to Create Cinematic Stock Footage with AI (2026)
Use Veo 3 as a b-roll generator: write prompts for cinematic cutaways, match AI footage to real clips, batch a full b-roll pack, and QA before publishing.
Read article
Veo 3 Dialogue: How to Make Two Characters Talk in One Scene (2026)
Stage realistic two-character conversations in Veo 3 — prompt structure, distinct voices, turn-taking, lip-sync, and a full worked example.
Read article
How to Remove Subtitles from Veo 3 Videos: Fix the Garbled Caption Bug (2026)
Veo 3 burns garbled subtitles into dialogue clips. Here is the complete 2026 playbook to prevent them at generation and remove them in post.
Read article