Veo 3.1 Frames to Video: Turn a First and Last Image Into Seamless AI Clips (2026)
How to use Veo 3.1 Frames to Video: bridge a start and end image into a seamless AI clip with step-by-step Flow workflow, copy-ready prompt templates, use cases, and QA.
Emma Chen · 14 min read · Jun 25, 2026
Veo 3.1 Frames to Video is the feature that finally makes AI transitions feel deliberate instead of lucky. You give the model a starting image and an ending image, write a short prompt describing the motion between them, and Veo 3.1 generates a single seamless clip that travels from the first frame to the last. No guessing where the shot will land, no generating ten variations hoping one matches your storyboard — you define both endpoints and let the model build the bridge.
This guide is a practical, end-to-end walkthrough of how to use frames to video in Veo 3.1: what the feature actually does, how it differs from "Ingredients to Video" and "Extend," a repeatable step-by-step workflow you can run today in Google Flow, the Gemini app, or on veo3ai.io, copy-ready prompt templates for the most common transition types, the best use cases, and the quality-control checks that separate a clean morph from a glitchy mess.
Quick Answer: What Frames to Video Does in Veo 3.1
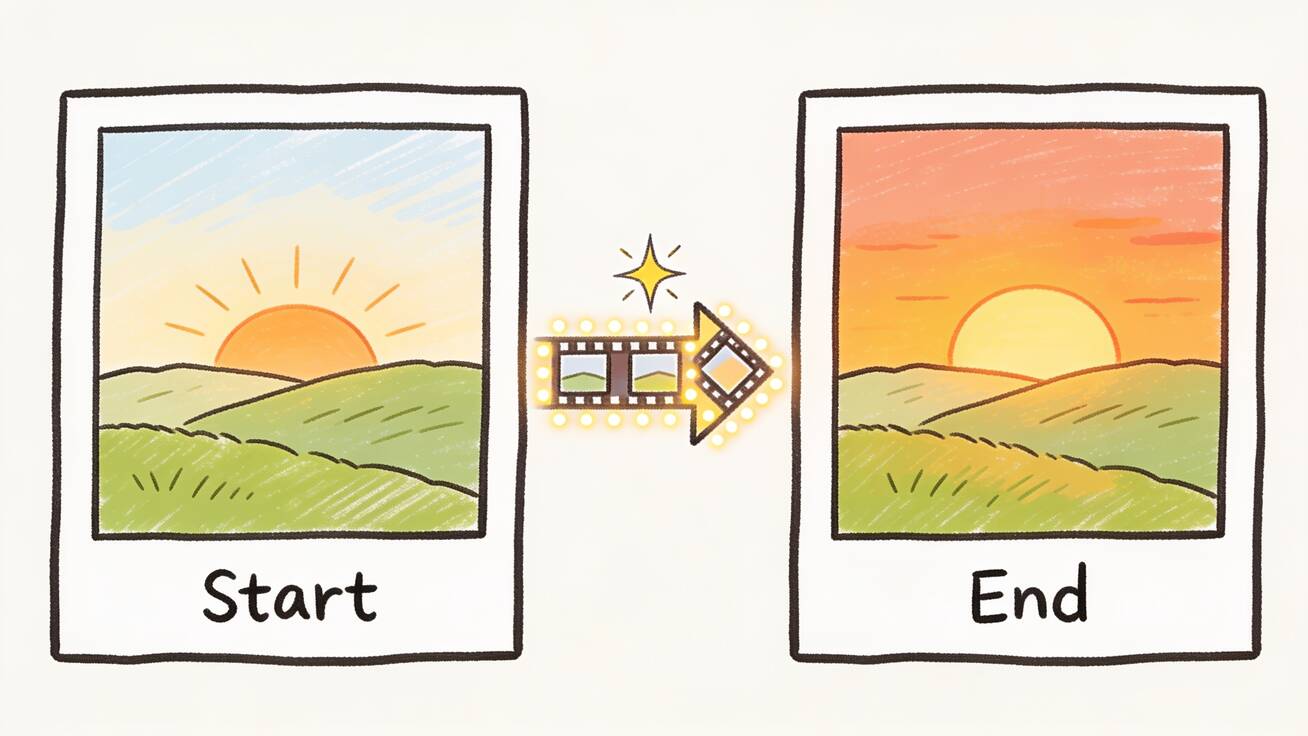
Frames to Video takes two still images — a start frame and an end frame — and generates an 8-second video that smoothly bridges them. Veo 3.1 interpolates the motion, lighting, and camera movement needed to get from image A to image B, and with the October 2025 update it now adds native synchronized audio to that bridge as well.
Use it when you already know how a shot should begin and end and you want the model to fill in the middle: a product rotating from front to back, a character turning from profile to face-on, a landscape shifting from dawn to dusk, or two unrelated scenes morphing into each other for a stylized cut. Because you anchor both ends, Frames to Video gives you far more narrative and continuity control than a blind text-to-video generation, which is exactly why it has become the go-to tool for transitions, reveals, and storyboard-driven sequences.
If you only need a clip to start from one image, that is ordinary image-to-video. Frames to Video is specifically the two-image, start-and-end workflow.
What Veo 3.1 Frames to Video Actually Is
Veo 3.1 is Google DeepMind's latest video generation model, and "Frames to Video" is one of three creative capabilities Google brought into Flow alongside the model update. The pitch is simple: provide a first and last image, and the model generates a video that bridges the two for "artful and epic transitions," as Google's own announcement describes it.
Mechanically, the model is doing guided interpolation. Pure interpolation (the kind older tools used for slow-motion) just blends pixels between two frames and looks like a crossfade. Veo 3.1 instead understands both images as scenes — it reads the subjects, depth, lighting, and implied physics — and then generates plausible intermediate motion. That means a person in the start frame can actually turn their head, take a step, or change expression on the way to the end frame, rather than ghosting through a dissolve.
A few specifics worth knowing before you start:
- Clip length: Veo 3.1 generates 8-second clips. For anything longer you chain clips or use Extend (more on that below).
- Resolution: Output is available at 720p, 1080p, and 4K depending on your access tier and platform.
- Audio: The 2025–2026 update brought native audio to Frames to Video, Ingredients to Video, and Extend for the first time. Your bridge clip can now arrive with ambient sound, foley, or effects generated in the same pass.
- Watermarking: Every Veo 3.1 output carries an invisible SynthID watermark identifying it as AI-generated. That is unavoidable and applies across all features.
- Where it runs: Frames to Video lives in Google Flow (the dedicated filmmaking tool), and Veo 3.1 itself is available through the Gemini app, the Gemini API for developers, and Vertex AI for enterprise. Tools like veo3ai.io give you a lower-friction path to Veo 3 output without managing API keys.
The reason this matters for creators is continuity. The single hardest thing about stitching AI clips together has always been that each generation lands somewhere slightly different — different framing, different lighting, a character whose jacket changed color. By letting you pin both endpoints, Frames to Video removes most of that drift from the equation.
Frames to Video vs Ingredients to Video vs Extend
These three Veo 3.1 features get confused constantly because Google shipped them together. They solve different problems:
| Feature | What you give it | What it produces | Use it for |
|---|---|---|---|
| Frames to Video | A start image + an end image | An 8s clip bridging the two | Transitions, reveals, morphs, storyboard beats with known endpoints |
| Ingredients to Video | Multiple reference images (characters, objects, style) | A new scene that combines those elements | Character/product consistency across shots, art-directed scenes |
| Extend | An existing clip | A longer continuation of that clip | Pushing past the 8-second limit, lengthening a shot you like |
A simple way to remember it: Frames controls where a shot begins and ends, Ingredients controls what appears in the shot, and Extend controls how long the shot lasts. They compose well — you can build a scene with Ingredients to lock your character, generate a transition with Frames, then use Extend to stretch the result. If you want the deeper dive on the other two, see our Veo 3 image reference workflow for consistency techniques and our guide to extending Veo 3 video beyond 8 seconds.
How to Use Veo 3.1 Frames to Video, Step by Step
Here is a repeatable workflow. The first time through takes about fifteen minutes; once it's a habit you'll generate a transition in a couple of minutes.
Step 1 — Prepare your two frames
Your output is only as good as your endpoints, so spend real effort here. The start and end images should share a consistent world: similar lighting direction, similar lens feel, and a subject the model can plausibly move between. You can source frames three ways:
- Two photos or stills you already own — ideal for product shots, real locations, or brand assets.
- Two AI-generated stills — generate them first (text-to-image or grabbed from earlier Veo clips) so they already share a style.
- A real frame plus a generated one — useful for "transform this real product into a stylized version" reveals.
Match aspect ratios between the two frames. A 16:9 start and a 9:16 end will force the model to crop or pad, which usually muddies the bridge.
Step 2 — Upload the start and end image
In Flow, choose the Frames to Video capability, then upload your first image into the start slot and your second into the end slot. Order matters: the model always travels from start to end, so if your transition runs backwards, swap them. On the Gemini app, you'll find video tools under the tool icon in the prompt bar; on veo3ai.io, select the frames/image inputs and attach both.
Step 3 — Write the bridge prompt
This is where most people under-deliver. The two images define the endpoints, but the prompt defines the journey between them — the camera move, the speed, the kind of motion, and the mood. A vague prompt like "transition between these images" leaves the model to invent the path; a specific one tells it exactly how to travel. Describe:
- The motion — does the camera push in, orbit, pull back, or hold while the subject moves?
- The pacing — slow and cinematic, or a fast snap?
- The logic of the change — is this a physical move, a time shift, a morph, or a match cut?
- Audio, if you want it — ambient bed, a whoosh on the transition, a specific sound effect.
For copy-ready phrasing, see our Veo 3 prompt examples and the native audio prompting guide; the templates in the next section are tuned specifically for frame bridges.
Step 4 — Generate and review
Generate the clip, then watch it at full speed and again frame by frame at the midpoint, which is where interpolation artifacts hide. Check three things: does the subject's identity hold (same face, same product, same colors)? Is the motion physically plausible, or does something warp/ghost? Does it actually land on your end frame, or drift off it? If any of these fail, adjust the prompt before re-rolling — usually the fix is a clearer motion description, not a different image.
Step 5 — Add audio, extend, or export
If you generated with native audio, mix it under your main soundtrack rather than over it. If 8 seconds isn't enough, run the result through Extend to lengthen it. When the bridge is clean, export at 1080p (or 4K where available) and drop it into your edit. For multi-shot sequences, generate each transition as its own Frames to Video clip and assemble them on a timeline — this is how you build longer narratives without losing continuity.
Prompt Examples and Templates for Frames to Video
The two images carry the content; these prompts carry the motion. Copy and adapt.
Product reveal (front to back):
Slow 180-degree orbit around the product from the first frame to the second, studio lighting holding constant, subtle reflection moving across the surface, shallow depth of field, premium and clean. Soft ambient room tone, a gentle whoosh as the rotation completes.
Time-of-day shift (dawn to dusk):
Static wide landscape shot. The lighting transitions smoothly from the cool dawn of the first frame to the warm dusk of the second, clouds drifting slowly, long shadows lengthening across the scene. Calm ambient wind and distant birds.
Character turn (profile to face-on):
The subject turns naturally from the profile pose in the first frame to the face-on pose in the second, keeping identical hairstyle, clothing, and lighting. Camera holds steady, eye contact at the end, cinematic shallow focus. Quiet room ambience.
Match cut / scene morph:
Match-cut transition: the circular object in the first frame morphs seamlessly into the circular object in the second frame as the camera pushes in, motion-blurred transition at the midpoint, energetic pacing. A rising whoosh peaks on the cut.
Logo or brand build:
The scattered elements in the first frame converge and assemble into the finished logo of the second frame, smooth motion, crisp focus snap on completion, dark premium background. A subtle chime as the logo locks into place.
Before/after transformation:
Smooth transformation from the worn, dull version in the first frame to the restored, vibrant version in the second frame, camera slowly pushing in, colors enriching and details sharpening across the clip. Gentle uplifting ambience.
When a prompt fights you, simplify the motion before you simplify the images. The model handles "slow orbit" far more reliably than "dramatic dynamic multi-axis camera choreography."
Best Use Cases for Frames to Video
Frames to Video earns its keep anywhere you already know the endpoints of a shot:
- Ad and product transitions — front-to-back reveals, packaging opening, before/after demonstrations. This is the highest-ROI use because product shots have clean, controllable endpoints.
- Social transitions and hooks — the "snap" cut between two scenes that powers a lot of TikTok and Reels editing, now generated instead of hand-keyframed.
- Storyboard-to-animatic — turn two key storyboard frames into a moving beat, letting directors preview pacing before a real shoot.
- Real estate and travel — move from an exterior establishing shot to an interior, or from one room to the next, with a continuous feel.
- Brand and logo stings — assemble a logo from scattered elements, or morph a mascot between poses.
- Educational sequences — show a process changing state: a seed to a plant, a sketch to a finished render, a map zooming from country to street.
The common thread is known endpoints. If you can describe or draw where a shot starts and stops, Frames to Video is usually the cleanest path to the motion in between. For pure cut-style edits between finished clips, our guide to seamless transitions for video covers the editing-side techniques that pair well with generated bridges.
Limitations and QA Checklist
Frames to Video is powerful but not magic. Knowing its limits saves you wasted generations.
- 8-second ceiling per clip. Long transitions must be chained or extended; you can't bridge a 30-second journey in one pass.
- Plausibility matters. The further apart your two frames are in content, the more the model has to invent — and the more likely you get warping or a soft, dissolve-y midpoint. Endpoints that share a subject, world, and lighting bridge far more cleanly than two random images.
- Identity drift. Faces, logos, and text can shift across the bridge. Always inspect the midpoint frames specifically.
- Aspect-ratio mismatches between the two frames degrade results; match them first.
- SynthID watermark is present on every output and cannot be removed. Plan around it for any provenance-sensitive use.
- Audio is generative, not licensed music. Native audio is great for ambience and effects, but for a branded track you'll still lay your own music underneath.
Run this quick QA pass on every clip before you use it:
- Does the subject's identity (face, product, colors) hold from start to end?
- Is the motion physically plausible with no ghosting or warping at the midpoint?
- Does the clip actually land on the end frame?
- Is the pacing right, or does it rush/drag?
- If audio is on, does it support rather than fight your main mix?
- Is the resolution correct for your destination platform?
If a clip fails on plausibility, the fix is almost always closer endpoints or a clearer motion prompt — not more re-rolls of the same setup.
Frequently Asked Questions
Is Frames to Video the same as image-to-video? No. Image-to-video animates a single starting image with no defined ending. Frames to Video uses two images — a start and an end — and generates the bridge between them, giving you control over where the shot lands.
Do I need Google Flow, or can I use the Gemini app? Frames to Video as a named capability lives in Flow, but Veo 3.1 itself is also available in the Gemini app, the Gemini API, and Vertex AI. Tools like veo3ai.io provide a simpler path to Veo 3 output if you don't want to manage Google's developer surfaces directly.
Is Veo 3.1 Frames to Video free? Access depends on tier. Google offers limited Veo 3.1 access on lower plans and higher generation limits on Pro and Ultra tiers; veo3ai.io includes a free starting allowance so you can test the workflow before paying. Expect some form of usage cap on any free access.
How long are the clips? Each generation is 8 seconds. Use Extend to lengthen a clip you like, or chain multiple Frames to Video clips on a timeline for longer sequences.
Can I add sound? Yes. The recent update brought native synchronized audio to Frames to Video, so you can prompt for ambient sound and effects in the same pass. For branded music, add your own track in the edit.
Why does my transition look like a blurry crossfade? That usually means your two frames are too far apart in content, or your prompt didn't describe the motion. Bring the endpoints closer (shared subject, world, lighting) and specify the camera move and pacing explicitly.
Conclusion
Veo 3.1 Frames to Video closes the biggest gap in AI video editing: control over how a shot begins and ends. Instead of generating blind and hoping a clip matches your storyboard, you anchor both endpoints and let the model build a believable, audio-ready bridge between them — ideal for product reveals, social transitions, storyboard beats, and brand stings. Prepare two consistent frames, write a prompt that describes the motion rather than just the images, inspect the midpoint, and you'll get clean, deliberate transitions that used to require manual keyframing.
The fastest way to learn the feel of it is to run a few transitions yourself. Pick a start and end image you already have, write one of the templates above, and generate your first bridge with Veo 3.1 frames to video on veo3ai.io — then build from there.
Related Articles
Continue with more blog posts in the same locale.
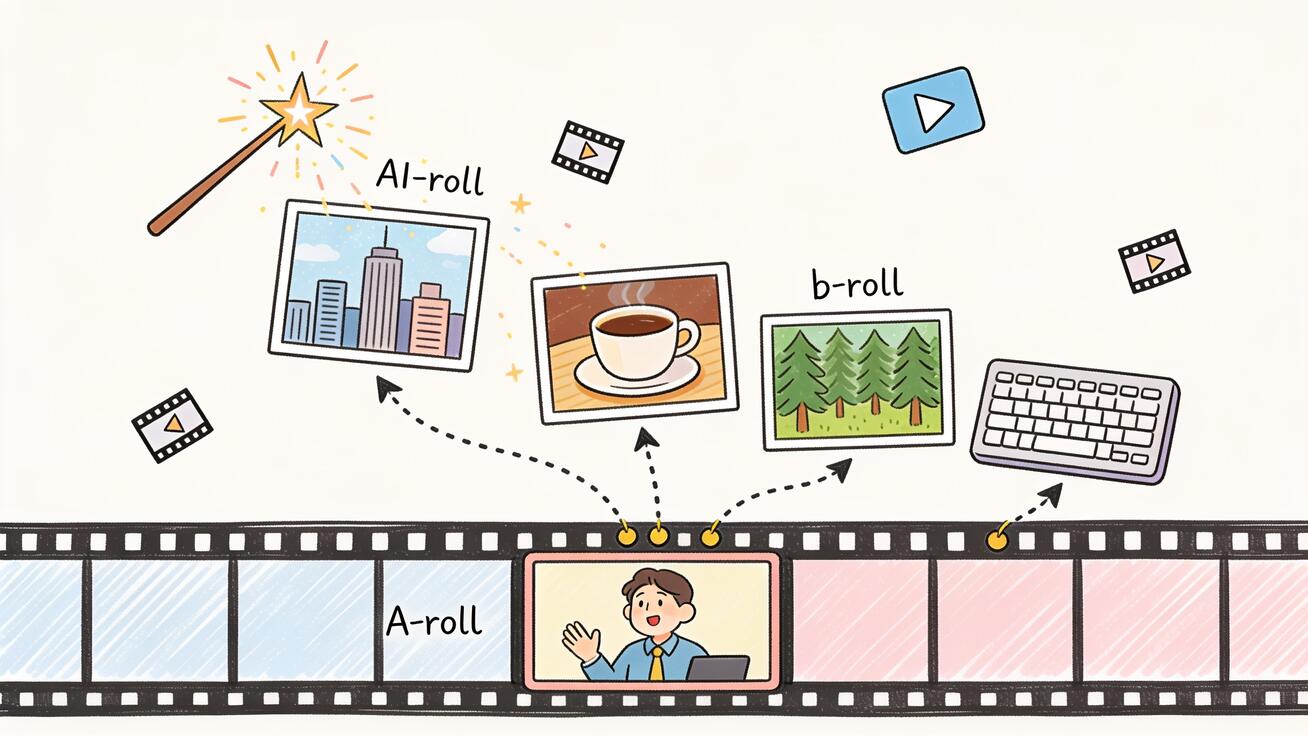
Veo 3 B-Roll Generator: How to Create Cinematic Stock Footage with AI (2026)
Use Veo 3 as a b-roll generator: write prompts for cinematic cutaways, match AI footage to real clips, batch a full b-roll pack, and QA before publishing.
Read article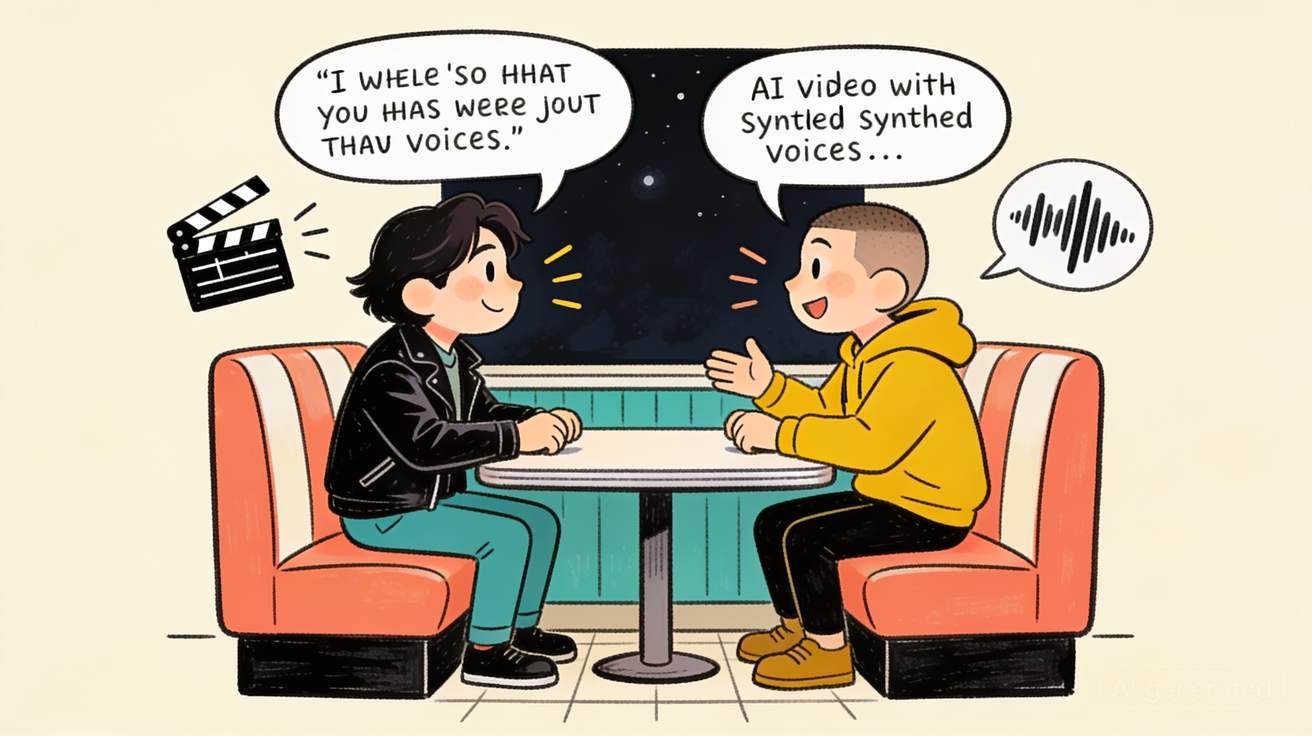
Veo 3 Dialogue: How to Make Two Characters Talk in One Scene (2026)
Stage realistic two-character conversations in Veo 3 — prompt structure, distinct voices, turn-taking, lip-sync, and a full worked example.
Read article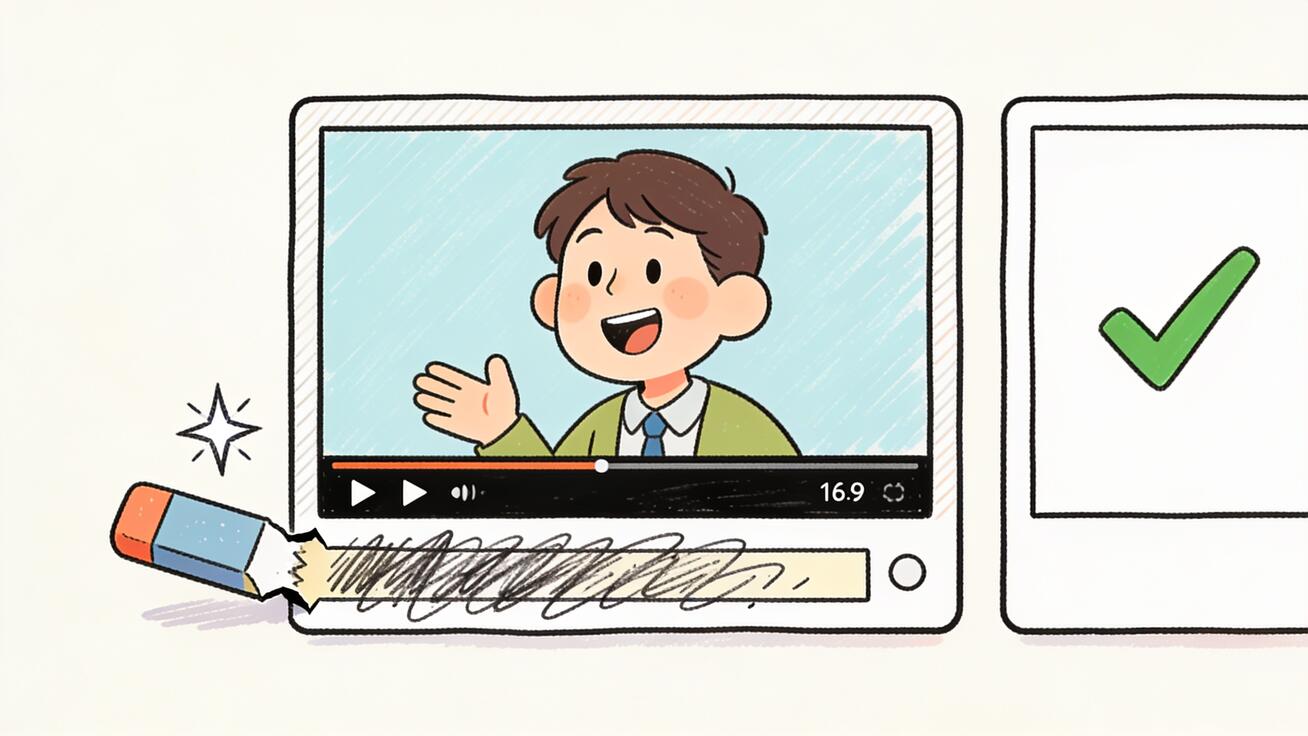
How to Remove Subtitles from Veo 3 Videos: Fix the Garbled Caption Bug (2026)
Veo 3 burns garbled subtitles into dialogue clips. Here is the complete 2026 playbook to prevent them at generation and remove them in post.
Read article