turn live photo into video: quick iPhone guide
Ever snapped a Live Photo and felt like that little snippet of movement deserved more? You're not alone. That tiny, three-second clip your iPhone captures is essentially a hidden video, just waiting for you to set it free.
Turning it into a proper video file unlocks its true potential.
Suddenly, that quick smile, the wind in the trees, or a pet's goofy antics can be shared anywhere—on Instagram, TikTok, or even with your friends using Android phones. It’s all about breaking your memories out of Apple’s walled garden and making them easy for everyone to see and edit.
Why Bother Converting a Live Photo?
This isn't just a technical trick; it's a creative upgrade. You're transforming a static gallery into a library of dynamic, shareable clips that better capture the real feeling of a moment.
The benefits are immediate and practical:
- Share It Anywhere: Standard videos work on any device or platform. Live Photos? Not so much.
- Edit Like a Pro: Once it's a video, you can use any video editor to add music, slap on a filter, trim the awkward parts, or merge it with other clips.
- Tell a Bigger Story: A collection of these short videos can be stitched together into a highlight reel, a travel montage, or an engaging social media Story.
Think of this simple conversion as your first step. It's how you start seeing your photo library as a source of rich, moving content. For a deeper dive, check out our guide on how to animate a still photo into a dynamic video, which takes these ideas even further.
Riding the Short-Form Video Wave
The urge to turn Live Photos into videos fits perfectly with the boom in short-form content. This whole trend started gaining steam after Apple rolled out the feature back in 2015, capturing 1.5 seconds of video before and after you press the shutter.
Fast forward to today, and the demand for bite-sized video is massive. The market for easy-to-use video conversion tools is projected to grow by over 25% annually. This makes sense when you consider that video is the king of marketing—a staggering 89% of businesses now rely on it.
By converting your Live Photos, you're not just saving a memory. You're creating a versatile, modern piece of content ready for any digital stage.
Believe it or not, you don't have to download a single app to turn a Live Photo into a shareable video. Your iPhone has everything you need baked right into the Photos app, which is perfect for those times you just need a quick, simple clip to send to a friend or post online.
Going Straight to Video: The "Save as Video" Method
This is the most direct route and my personal go-to when I want a clean conversion. It’s a bit of a hidden gem that many people don't even know exists.
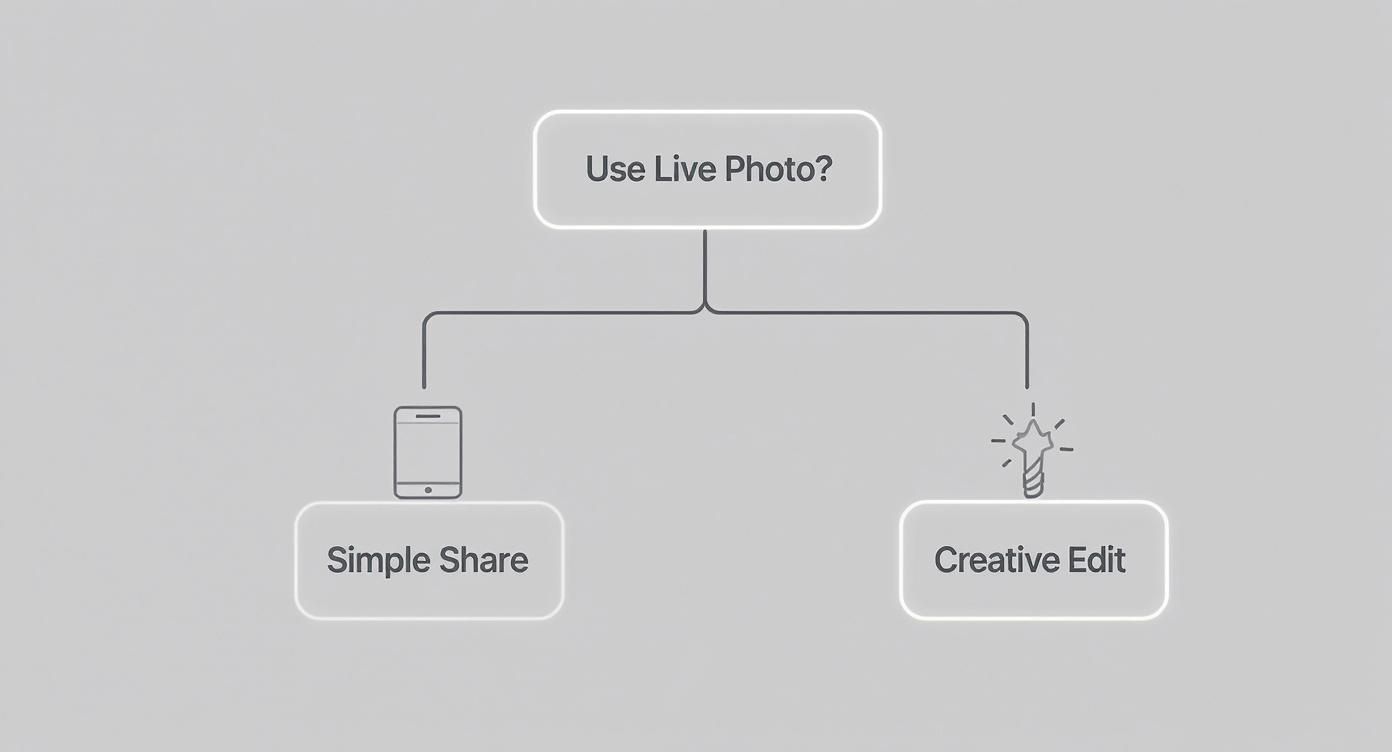
As you can see, your goal really dictates the best approach. A simple conversion is often all you need, but adding a creative twist can make your content stand out.
So, how do you do it?
First, pop open your Photos app and track down the Live Photo you want to work with. Tap on it to bring it up full-screen.
Now, look for the three-dot menu icon (•••) up in the top-right corner. Tapping it brings up a menu, and right there you'll see the option you're looking for: Save as Video.
Give that a tap, and boom. Your iPhone creates a brand new, separate video file in your camera roll. This new clip is a standard .MOV file, which means it plays nicely with just about any device or social platform you can think of. Your original Live Photo stays exactly as it was.
Pro Tip: This method is fantastic for preserving the best possible quality. The video it creates will have the same resolution as the original photo, which is a huge plus if you plan on showing it on a larger screen or doing more detailed edits later.
Adding a Creative Twist with Loop and Bounce Effects
Sometimes a straight conversion isn't enough. You want something a little more eye-catching. This is where your iPhone's built-in effects come in handy, turning a simple moment into a fun, looping clip that’s perfect for social media stories.
To find these, open your Live Photo and tap the LIVE button in the top-left corner. A little dropdown menu will appear with a few creative choices:
- Loop: This turns your Live Photo into a seamless, repeating video. I find this works best for moments with continuous motion, like a crackling fire or waves rolling onto the shore.
- Bounce: This creates that classic back-and-forth boomerang effect, playing the clip forward and then immediately backward. It’s brilliant for capturing funny faces, a celebratory toast, or any quick, surprising action.
- Long Exposure: While this isn't a video effect, it's still a cool tool. It blurs moving elements to create an artistic, dreamy look. Think silky waterfalls or light trails from city traffic at night.
Once you pick Loop or Bounce, your iPhone automatically applies that effect. From there, just head back to the three-dot menu (•••) and use the Save as Video command again. This will export your newly styled clip as its own video file, ready to go.
For those with newer iPhones that can shoot in Log, you can take things even further. You can give your clips a professional, cinematic finish by applying specialized color grading tools like Apple iPhone Log LUTs.
Comparing Native iOS Conversion Methods
To make it even clearer, here's a quick rundown of the built-in options and when to use them.
| Method | Best For | Creative Control | Output Format |
|---|---|---|---|
| Save as Video | Preserving original quality, sound, and length. Perfect for clean, standard video clips. | None. It's a direct 1:1 conversion. | Standard .MOV |
| Loop Effect | Creating seamless, repeating GIFs or short videos from continuous motion. | Minimal. The effect is automatic. | .MOV (when saved as video) |
| Bounce Effect | Making fun, boomerang-style clips for social media that play forward and reverse. | Minimal. The effect is automatic. | .MOV (when saved as video) |
At the end of the day, the right choice really just depends on what you're trying to achieve. For a simple, high-quality video, stick with the standard save. For something with a bit more personality for social media, give Loop or Bounce a try.
Level Up Your Edits with Third-Party Apps
Your iPhone’s built-in tools are fantastic for quick conversions, but they barely scratch the surface of what’s possible. If you want to take the director's seat and really fine-tune the final look and feel of your clip, third-party apps are your best bet.
This is where you graduate from a simple export to a creative edit. We're talking about adding music, trimming with surgical precision, or applying cinematic color grades. Think of it as switching your camera from auto to manual mode—the creative potential just shot through the roof.
Apps Made for the Job
Some apps are designed with one specific mission in mind: turning a Live Photo into a video, but with all the bells and whistles. A crowd favorite for this is intoLive. It’s a great place to start because it’s powerful yet incredibly straightforward.
With an app like intoLive, you’re not just saving a file; you’re crafting a mini-masterpiece. You can:
- Play with Speed: Slow things down for a dramatic, dreamy vibe, or speed them up for a frantic, funny clip.
- Set the Mood with Music: Pull a track from your music library and completely change the emotional tone.
- Apply Filters: Instantly give your video a new aesthetic with a library of visual styles.
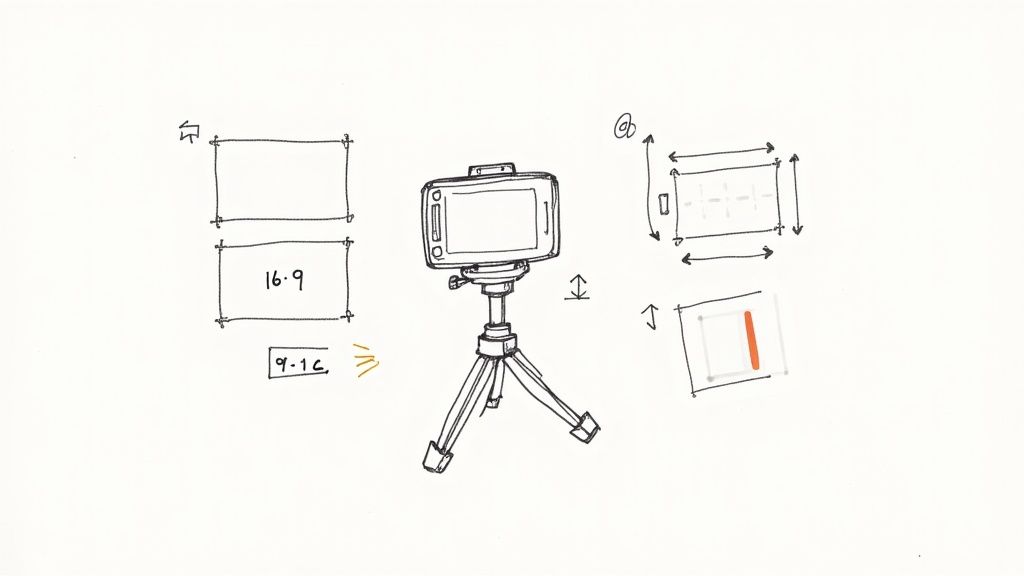
- Get the Sizing Right: Crop your video to fit perfectly in an Instagram Story (9:16), a widescreen post (16:9), or a classic square (1:1).
This is the kind of control you need when you want your content to feel deliberate and polished, not just like a random phone capture.
One of the most underrated features in these apps is the ability to change the key photo or cover frame. This lets you pick the single best still from the 3-second clip to serve as the thumbnail—a small detail that makes a huge difference in catching someone's eye on a crowded social feed.
Weaving Live Photos into Bigger Projects
What if that little Live Photo moment is just one piece of a larger puzzle? That’s where powerhouse video editors like CapCut or InShot come into play. These apps treat your Live Photos just like any other video clip you'd drop into a project.
The process is simple. First, save your Live Photo as a video using the native iOS method we covered earlier. From there, you just import that new video file into your timeline alongside your other footage, photos, and graphics.
This opens up a ton of possibilities for creating things like:
- Travel Montages: Seamlessly mix those candid, in-between moments from Live Photos into a longer story.
- Quick Product Demos: Use a short Live Photo clip to show a product feature in a quick, dynamic way.
- Event Recaps: Combine standard video with energetic Live Photo moments to build a more engaging highlight reel.
Once you've converted your Live Photos, you might want to bring them into the best video editing software for even more advanced features. This really unlocks a new level of creativity. And if you want to see just how far this technology is going, you can explore using an AI video generator from an image to animate a single picture into a truly stunning video.
Breathe New Life Into Your Clips with AI Animation
So, you've successfully turned your Live Photos into standard video clips. That's a great start, but what if you could take it a step further? This is where AI animation opens up a whole new world of creative possibility. It's about more than just converting a file format; it's about reimagining the moment you captured.
Think of it like this: your Live Photo is the raw footage. AI is your personal director, ready to add a cinematic touch. Instead of just the subtle motion of a tree branch, you could make the clouds drift across the sky or add a slow, dramatic zoom on your subject. This process takes that simple three-second clip and elevates it into something dynamic and genuinely eye-catching.
From Simple Clip to Animated Story
The best part? The workflow is surprisingly simple. You just take the video you already made from your Live Photo and use that as the foundation.
From there, you upload it to an AI animation platform. This is where the magic happens, and it's all driven by simple text prompts. You get to be the director, telling the AI exactly what kind of motion or visual effect you want to add to your clip.
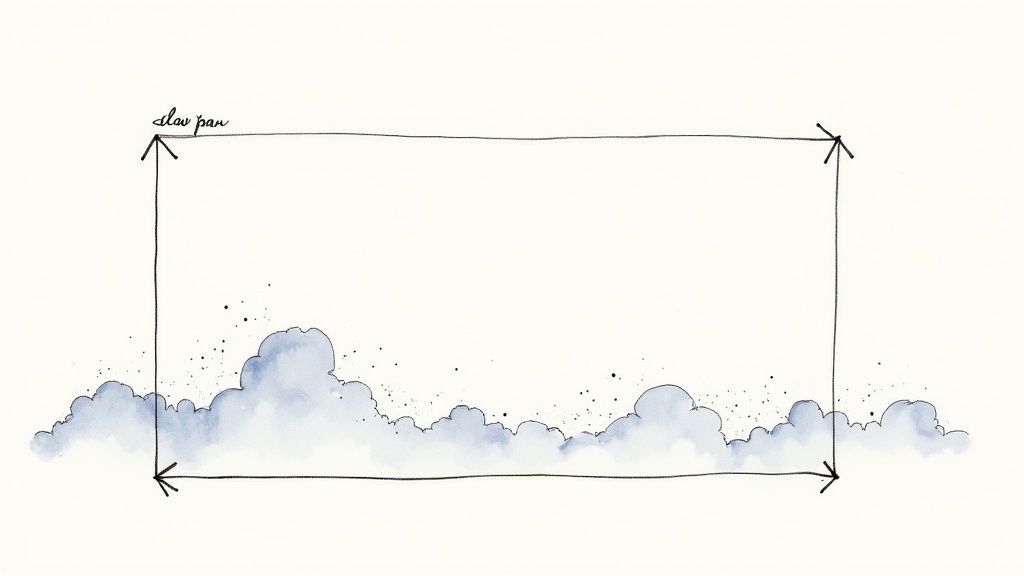
This isn't about creating something from scratch. It's about enhancing what’s already there. Got a landscape shot? A prompt like "slow pan right, clouds moving gently from left to right" can turn a static scene into a beautiful, moving shot. For a portrait, something like "subtle zoom in on the subject's eyes, dreamy particle effects floating in the foreground" can add a touch of professional polish.
The real power here is the ability to introduce camera movements that simply weren't there when you took the picture. You can retroactively add production value, making a simple handheld Live Photo look like a professionally planned shot.
It’s no surprise that businesses are taking notice. The market for animation and video platforms is projected to grow at a 17.3% CAGR from 2025 to 2034. In fact, somewhere between 89-95% of businesses now see video as a crucial part of their strategy, and simple tools that turn photos into compelling clips are a big reason why. You can see more on the rise of video marketing statistics on HubSpot.
Recommended Settings and Use Cases
To get the most out of AI animation, a few simple guidelines go a long way. Always start with the highest quality source video you can. When you save your Live Photo as a video, make sure you choose the highest resolution available on your iPhone.
Once you’re ready to animate, here are a few ideas to get you started:
- Social Media Stories: That Live Photo of your morning coffee? Animate it with steam elegantly rising and swirling for an infinitely more engaging post.
- Product Shots: Take a still image of a product and add a subtle glint of light moving across its surface or a gentle rotation to show off its features.
- Travel Vlogs: Turn a scenic Live Photo of a mountain range into an epic establishing shot by adding a slow, majestic dolly zoom.
If you’re ready to dive in, platforms like Veo3 AI are built for exactly this kind of work, making image-to-video and video-to-video transformations surprisingly intuitive. To get a better sense of the options out there, take a look at our deep dive into the best AI animation software available today.
Tips for Creating High-Quality Videos
Getting your Live Photo converted into a video file is just the first step. Now, the real work begins: turning that short, raw clip into something that feels intentional and looks polished. Honestly, the quality of your final video often depends on what you do before you even open an editor.
It all starts with how you take the shot. I’ve learned to make a habit of holding my phone steady for a full second before I tap the shutter and another second after. It’s a tiny change, but it gives you clean, stable footage at the beginning and end, which is a lifesaver when you get to the editing stage.
Mastering the Art of the Trim
The very first thing you should do after converting a Live Photo is to trim it. That default three-second clip almost always catches an awkward camera jiggle at the start or an abrupt movement as you lower your phone. Trimming is how you isolate the magic moment.
Just open the video in your Photos app and hit "Edit". You'll see the timeline at the bottom. Grab the yellow handles at each end and drag them inward to snip off the shaky bits. This lets you focus purely on the core action—a genuine laugh, a perfect splash, or your dog's goofy head tilt. This one simple edit makes the video feel instantly more deliberate.
Polish and Perfect Your Video
With your clip trimmed down to the best part, a few final touches can elevate it from a simple clip to share-worthy content. This is all about refining the visual and audio experience so it's ready for whatever platform you have in mind.
- Apply a Quick Color Grade: You don't need to be a pro. Even a subtle filter from the Photos app or a quick adjustment in an editor like CapCut can give your clips a consistent, pleasing look. It makes everything feel more cohesive.
- Choose the Right Aspect Ratio: Think about where the video is going. Is it for an Instagram Reel or TikTok? You'll want a vertical 9:16 format. Posting it to YouTube? Stick with the traditional 16:9. Cropping your video to fit its destination is a non-negotiable final step.
- Manage the Audio: Sometimes, the original sound adds a layer of authenticity. Other times, it's just distracting background noise. Make a call: keep it, mute it completely, or swap it out for a music track that better fits the mood you're aiming for.
Remember, your goal is to guide the viewer’s focus. By trimming away the clutter and enhancing the visuals, you’re making sure the most impactful part of the moment is what they see.
This kind of quick, engaging content is exactly what's working right now. The explosion of short-form video has changed how we all consume media, placing a huge premium on authentic moments with a bit of motion. It’s no surprise that 44% of video marketers are now prioritizing short videos, as they tend to deliver the highest ROI. Turning Live Photos into videos is a fantastic, low-effort way to create this type of content, especially for platforms where attention spans are fleeting. If you want to dive deeper into how video is shaping engagement, check out these insights on video marketing trends on indirap.com.
Questions That Pop Up When Converting Live Photos
Even once you get the hang of it, a few questions always seem to surface when turning Live Photos into videos. It's usually a simple process, but some common sticking points can be a pain. Let's clear up the most frequent ones so you can get the exact clip you want, every time.
Does Turning a Live Photo into a Video Ruin the Quality?
This is a big one, and the short answer is no—not if you do it right. When you use your iPhone's built-in "Save as Video" feature, it does an excellent job of keeping the original quality intact. The video you get will have the same resolution as the photo it came from, so you shouldn't see any obvious blurriness or pixelation.
Now, where you can run into trouble is with some third-party apps. Many of them compress videos by default to keep file sizes down, which can definitely soften the image. The fix is simple: before you export, always hunt for the app's settings and crank the quality up to the highest option available, like 1080p or even 4K. That'll keep your video looking sharp.
How Do I Stitch a Few Live Photos into One Video?
You absolutely can, and it's perfect for creating a quick little highlight reel of a moment. The fastest way is right in your Photos app. Just select all the Live Photos you want to include, tap the Share button, and hit "Save as Video." iOS will instantly string them together into a single, seamless clip.
For more control, though, I'd recommend a slightly different workflow. Save each Live Photo as its own separate video first. Then, pull all those short clips into a video editor like CapCut or iMovie. This way, you can reorder the moments, trim them perfectly, and add transitions for a much more polished final video.
My Take: The direct "Save as Video" method is great for speed, but exporting them individually and using an editor gives you total creative freedom. You get to be the director of your own mini-movie.
Will the Original Sound Be in the Final Video?
Yes, it will! That little bit of audio your iPhone captures—a quick laugh, a passing comment, the sound of the ocean—is part of the package. It's automatically included when you convert the Live Photo, which often adds a fantastic layer of realism and nostalgia to the clip.
Of course, if you'd rather have a silent video or add a music track, that's easy to change. Pretty much any video editing app will let you mute, detach, or replace the original audio with just a couple of taps.
What’s the Best Way to Make a GIF from a Live Photo?
While we're focused on video, turning a Live Photo into a GIF is another great option. The quickest trick on your iPhone is to apply the Loop or Bounce effect. Once you do that, sharing it in an app like Messages or WhatsApp will often send it as a GIF automatically.
If you want more specific GIF-making tools, dedicated apps like GIPHY are the way to go. They usually have a direct "Save as GIF" button and let you fine-tune things like frame rate and size.
Ready to push your clips beyond simple loops? Veo3 AI can animate your photos and videos, adding cinematic motion that makes them stand out. Create your first AI-enhanced video for free at https://veo3ai.io.
Article created using Outrank